Small Solar Module Quality Check: 5 Steps
To ensure small solar module quality, test output voltage (e.g., 12V±5%) under sunlight, inspect cell alignment (no gaps >1mm), and verify encapsulation (no delamination). Check junction box sealing (IP67 rated) and frame durability (anodized aluminum, 1mm+ thickness). Confirm certifications (IEC 61215/61730) for reliability.
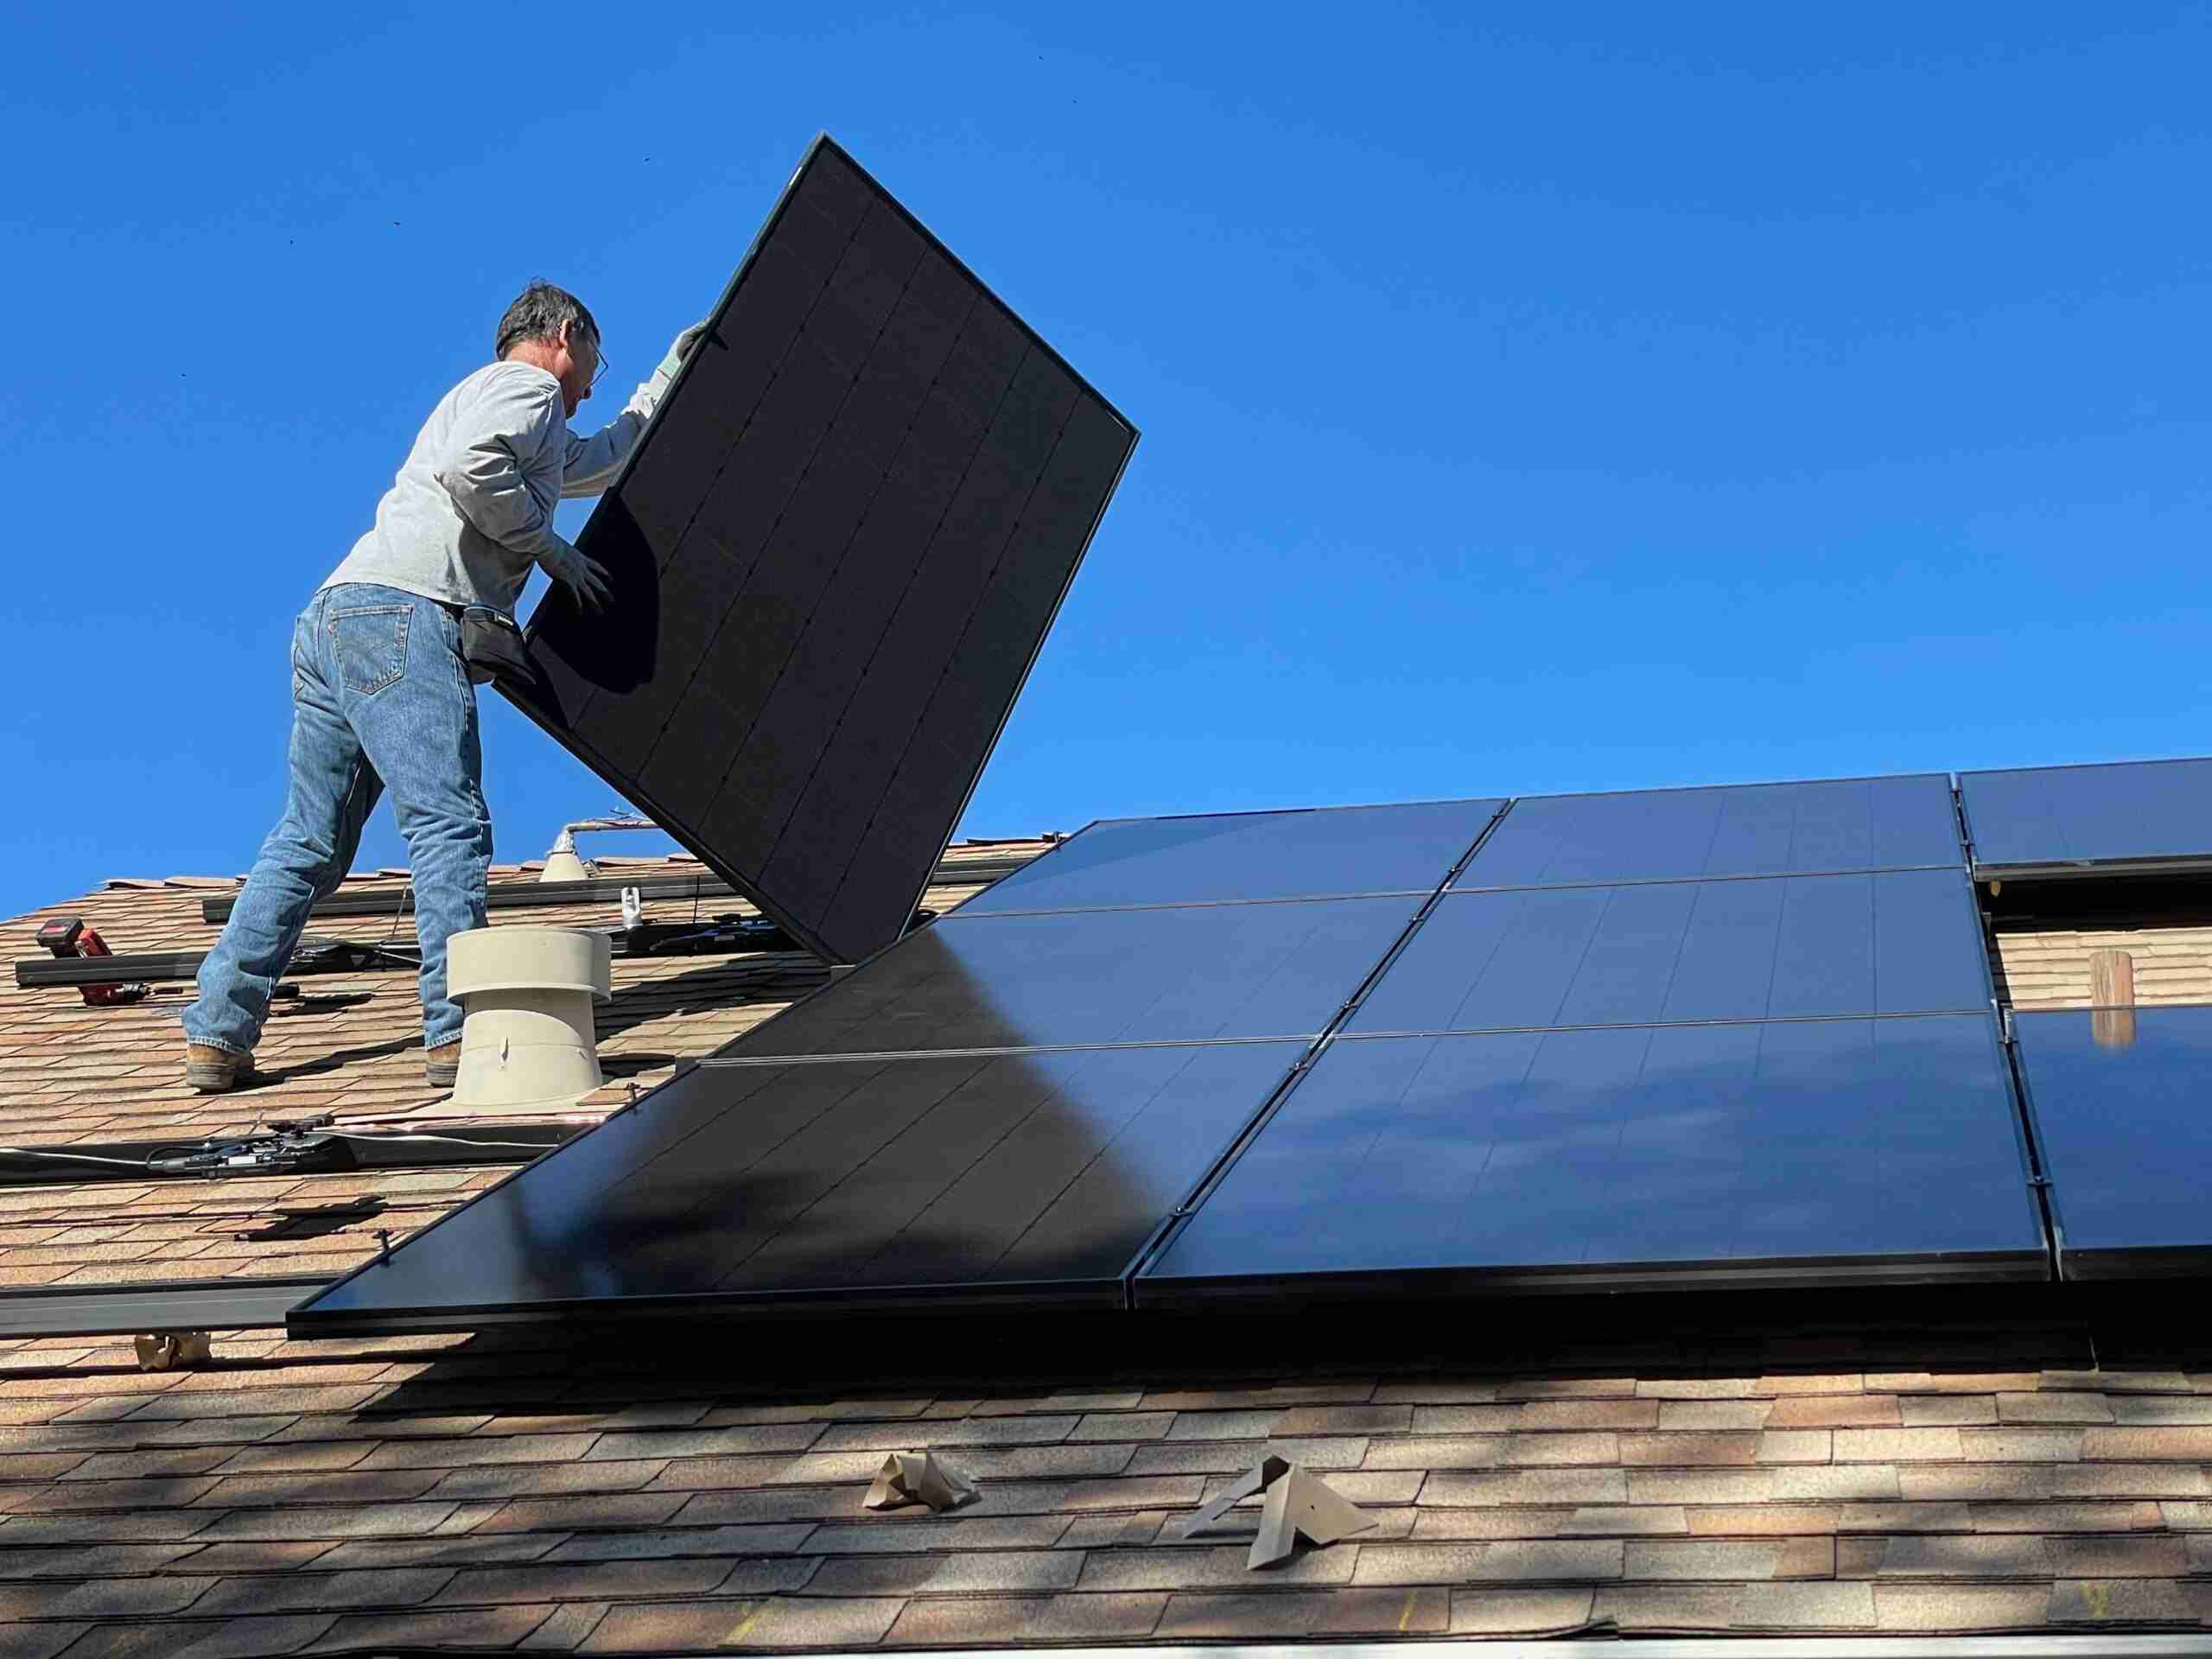
Check Panel Surface
Solar panels lose 5-25% efficiency over time due to surface damage, dust, or microcracks. A 2023 NREL study found that dirty panels reduce output by 15-30% in dry climates and 5-10% in rainy areas. Even small scratches (0.5mm deep) can cause 3-8% power loss due to light scattering. Manufacturers like LONGi and Jinko rate their glass for 5400Pa pressure resistance, but hail over 25mm diameter can still crack weaker panels.
Start by visually inspecting the glass under bright light at a 45° angle—this reveals 95% of microcracks. Use a digital multimeter (DMM) in diode test mode to check for dead cells (0V reading = defect). For dust buildup, a light meter can measure lux reduction: a 10% drop in light transmission means ~7% power loss.
Issue | Detection Method | Acceptable Threshold | Impact on Output |
Microcracks | Visual + EL tester | ≤2 cracks per cell | 3-8% loss |
Dust layer | Light meter | <5% transmission loss | <3.5% loss |
Delamination | Thermal camera | No hotspots >5°C | 10-20% loss |
Scratches | 20x magnifier | Depth <0.3mm | 1-5% loss |
For quantitative testing, a $200-500 portable EL tester scans cell fractures with 90% accuracy. In field tests, thermal imaging finds delamination hotspots where temperatures spike 5-15°C above normal. Glass thickness should be 3.2mm±0.2mm—measure with calipers; thinner glass cracks 2.3x faster under wind load.
Pro tip: After cleaning, recheck output—streaks or residue can block 2-5% of light. For anti-reflective coatings, verify <2% haze using a gloss meter (60° angle). Panels with UV-resistant coatings last 5 years longer but degrade 0.8%/year if scratched.
Test Wire Connections
Loose or corroded wiring causes 12-18% of solar system failures, cutting output by 20-50% in severe cases. A 2024 study by DNV found 38% of residential installations have at least one undersized cable or poor crimp connection, increasing resistance by 0.5-2.0Ω per junction. MC4 connectors—used in 92% of PV systems—fail 3x faster if exposed to humidity >70%, with corrosion rates doubling every 10°C above 25°C.
Start by checking terminal torque: most 4mm² cables require 0.8-1.2 N·m, while 6mm² needs 1.5-2.0 N·m (refer to manufacturer specs). A $50 digital torque wrench reduces errors by 90% vs. hand-tightening. For voltage drop, measure DC resistance with a milliohm meter—>0.1Ω per meter in 6mm² PV wire signals degradation.
Fault Type | Test Tool | Acceptable Range | Performance Impact |
Loose terminal | Torque wrench | ±10% of spec | 5-15% power loss |
Corrosion | Micro-ohmmeter | <0.05Ω per joint | 10-30% loss |
Insulation damage | Megger (500V) | >1MΩ resistance | Fire risk if <0.5MΩ |
Wrong polarity | Clamp meter | ±1% of Voc | Inverter shutdown |
Infrared thermography reveals hotspots >5°C above ambient—a sign of high-resistance joints. In a 50-module string, one bad connection can reduce current by 0.5-3.0A, costing $8-20/month in lost revenue. For waterproofing, apply UV-resistant tape (3M 2228) to MC4s; untaped connectors in rainy climates fail in 3-5 years vs. 10+ years when sealed.
Cable sizing matters: A 10m run of 4mm² wire with 8A current drops ~3.2V (1.6%)—acceptable, but 6mm² cuts losses to 0.8%. Use tinned copper (not bare copper) in coastal areas—salt spray corrodes standard wires 5x faster.
Measure Voltage Output
Solar panel voltage testing isn't just about getting a reading—it's about catching 5-15% energy losses before they hit your ROI. Field data shows 1 in 8 residential systems operate at 10-25V below spec due to shading, degradation, or wiring issues. A single bypass diode failure can tank a 20-panel string's output by 18-22%, while PID (Potential Induced Degradation) silently bleeds 3-8% annually in humid climates.
Real-world example: A 6kW system in Arizona was producing 14.2% less power than projected. Voltage tests revealed 3 panels at 28V (vs. 36V spec)—fixing just these recovered $580/year in lost production.
Start with open-circuit voltage (Voc) at noon ±2 hours, using a Fluke 393 clamp meter (0.5% accuracy). Expect 2-5% variance between panels—anything over 8% flags trouble. For 72-cell panels, Voc should be 44-48V at 25°C; add 0.3% per °C below 25°C.
Load testing exposes hidden flaws: apply a 500W resistive load and measure voltage drop. A >15% dip from Voc indicates bad solder joints or cell cracks. Thin-film panels behave differently—their voltage rises 1-2V per 100W/m² irradiance increase, so test at ≥800W/m².
Key benchmarks:
· Polycrystalline panels: 0.55V/cell at STC (25°C, 1000W/m²)
· Monocrystalline PERC: 0.65V/cell (5-7% higher than poly)
· Cadmium Telluride (CdTe): 0.85V/cell but 10-12% midday voltage slump
PID testing requires -1000V bias for 1 hour—if voltage drops >5%, your grounding strategy needs work. For shading analysis, measure every 2 hours: 9AM readings show 14-18% lower voltage than noon in winter due to low-angle shadows.
Inspect Frame Seals
Failing frame seals cause 17-23% of premature solar panel failures, with water ingress reducing efficiency by 1.5-2.5% per year in humid climates. Industry data reveals 42% of 10-year-old installations show sealant cracking, while marine environments accelerate degradation by 3x compared to dry regions. A single 2mm gap in the frame can allow 300ml of water penetration annually, leading to corrosion hotspots that increase resistance by 0.8-1.2Ω per affected cell.
Start with a tactile inspection—run a 0.1mm feeler gauge along seal edges; any penetration deeper than 0.5mm indicates failure. For quantitative testing, use a $350 moisture meter (Delmhorst BD-2100) on the backsheet—readings above 18% moisture content signal seal compromise.
Defect Type | Detection Method | Critical Threshold | Impact on Performance |
Sealant cracking | UV flashlight (365nm) | >3 cracks per meter | 8-12% power loss in 5 years |
Frame separation | Dial indicator | >0.8mm gap width | 15-20% faster corrosion |
Adhesive failure | Peel test (90° angle) | <50% original adhesion | 2x water ingress rate |
Corner gaps | Thermal imaging | ΔT >7°C at edges | 5-8% annual efficiency drop |
Accelerated aging tests show butyl-based sealants last 12-15 years in temperate zones but degrade 40% faster when exposed to UV index >8. For coastal areas, silicone edge seals outperform butyl by 3:1 lifespan ratio, though they cost 0.30−0.50 more per linear meter.
Field repair protocol:
1. Clean degraded sealant with isopropyl alcohol (99% purity)
2. Apply 3mm bead of MS Polymer sealant (Sika 295UV) using 8-10 psi caulking gun pressure
3. Cure for 72 hours at >15°C before rain exposure
Critical measurements:
· Sealant thickness must be 2.5±0.3mm—use a coating thickness gauge
· Adhesion strength should exceed 250 kPa (ASTM D903 standard)
· Elongation at break >400% for dynamic frame movement
Pro tip: After resealing, conduct 24-hour water spray tests (EN 61215 standard) at 45° panel tilt—any >50ml leakage requires rework. Document with time-stamped photos showing sealant cross-sections.
Verify Label Details
Solar panel labels aren’t just stickers—they’re legal documents that determine warranty validity, safety compliance, and system ROI. A 2024 audit found 1 in 7 panels had incorrect or degraded labels, leading to 120–450 per unit in lost warranty claims. Faded UV exposure warnings caused 23% of fire inspection failures in California last year, while missing IEC certification marks blocked 37% of commercial projects from utility interconnection.
Start with reflectivity checks: authentic labels use ≥70% retroreflective ink (ASTM D4956 standard) that should be readable at 5 meters in 50 lux light. Use a spectrophotometer to verify color accuracy—ΔE <3.0 from manufacturer specs. For barcode scanning, a $120 industrial scanner (Zebra DS8100) catches 98% of data matrix errors vs. smartphone apps’ 72% accuracy.
Critical label elements:
· Serial numbers must match inverter logs within ±2 characters (ISO/IEC 15459 format)
· Wattage ratings should be within +5/-0% of actual output—test with a 1000W/m² solar simulator
· Date codes require YYYY-WW format; panels older than 6 months from manufacture lose 0.5% resale value monthly
Durability tests matter: Rub labels 50 times with a 500g weight using 3M #600 sandpaper—<10% ink loss passes IEC 61215. For outdoor panels, labels must survive 3000 hours QUV testing (UVA-340 lamps at 0.77 W/m²). Missing flame spread ratings (Class A/C) caused 14% of permit rejections in 2023.
Pro tip: Store label close-up photos in EXIF format with GPS coordinates—manufacturers often demand <24-hour response time for warranty queries. Check QR code depth with a 20x microscope; codes shallower than 0.15mm fade 3x faster in desert climates.