How Should Solar Modules Be Chosen for Mixed Use Buildings
A mixed-use building may contain apartments, offices, shops, restaurants, parking areas, clinics, or public facilities. These spaces use electricity at different times and place different demands on the roof.
Choosing solar modules by wattage or price alone is risky. A high-power module may fit the roof poorly. A lightweight module may still need heavy ballast. An all-black module may look better but operate at a different temperature from another product. A bifacial module may add little energy if its rear side receives very little light.
The right module must meet six basic conditions:
• It fits the usable parts of the roof.
• The roof can carry the complete system.
• The design meets local fire and electrical rules.
• The module suits the local climate.
• The finished array suits the building's appearance.
• The electricity can be used or exported at a reasonable value.
Some requirements are pass or fail. A low price or high output should not be used to excuse a structural, electrical, fire-safety, or certification problem.
A module or layout should normally be rejected if:
• The roof cannot safely carry the complete system.
• Required fire and maintenance routes cannot be kept clear.
• The module voltage or current is not compatible with the inverter.
• The proposed clamp positions are not approved by the module manufacturer.
• The certificate does not cover the exact model or factory.
• The mounting method would cancel the roof warranty.
• The roof is too old or damaged for a long-life installation.
• The insurer, grid operator, fire authority, or local authority will not accept the design.
Only after these checks have been passed should the owner compare annual energy, roof use, appearance, installed cost, maintenance, warranty support, and long-term value.
The module should not be the first item selected. The project should first confirm who owns the roof and system, which electricity meter will receive the solar power, who receives the savings, and who is responsible for roof access and maintenance. This is especially important in a mixed-use building, where the roof, electricity meters, and tenant leases may be controlled by different parties.
The final design should be checked by qualified structural, electrical, roofing, and fire-safety professionals.
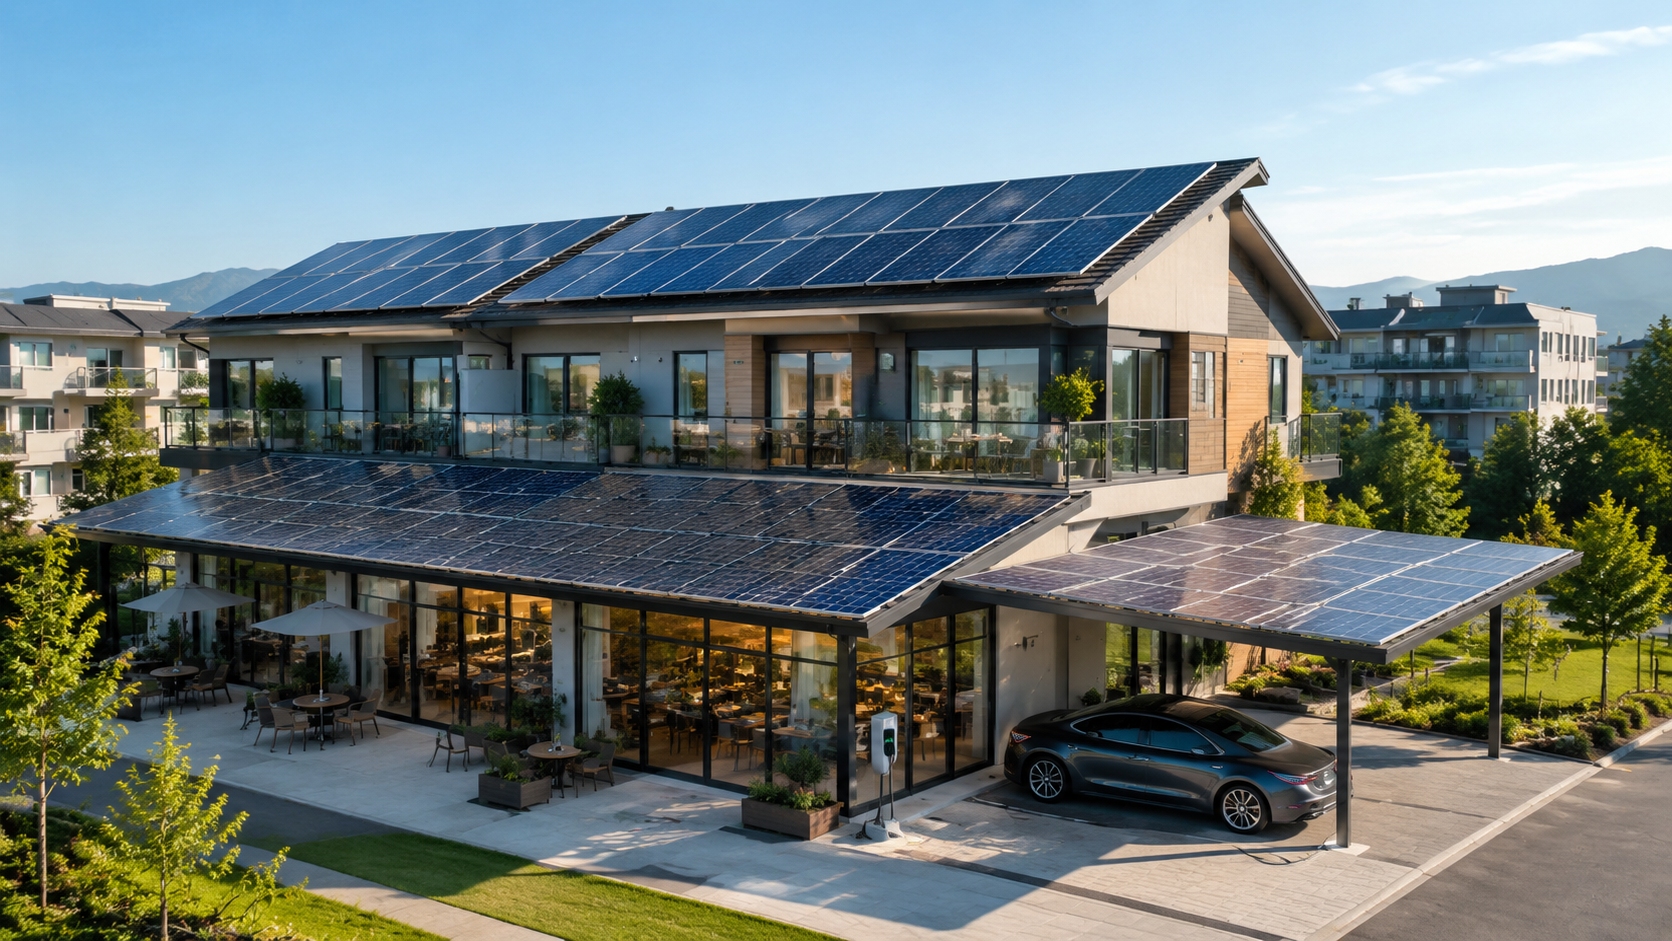
Map the Roof
Do not begin with the total roof area shown on a drawing. Begin with the usable solar area.
Remove the following areas from the first layout:
• Roof edges and required setbacks
• Firefighter access routes
• Smoke vents and roof hatches
• HVAC units and cooling towers
• Lift overruns
• Exhaust ducts
• Skylights
• Water tanks and antennas
• Roof drains
• Maintenance paths
• Shaded areas
• Weak or damaged roof sections
• Space needed for future equipment
Old construction drawings may not show the roof as it exists today. Equipment may have been replaced, pipes may have been moved, and access routes may have changed.
A current roof survey should record:
• Actual roof dimensions
• The position and height of obstacles
• Parapet height
• Roof slope and membrane type
• Drainage direction and areas where water collects
• Leaks and previous repairs
• Fall-protection equipment
• The opening area of equipment doors
• Routes used to remove or replace HVAC equipment
• Nearby buildings and trees
• Future equipment plans
A preliminary layout may use drawings, aerial images, or a digital roof model. The final layout should be checked against a site survey.
Mixed-use roofs often change. A restaurant may add another exhaust outlet. A shop may need more cooling. Apartments may later use heat pumps. A clinic may add ventilation or backup equipment. It is usually cheaper to reserve a practical equipment area now than to move an operating solar array later.
Use Solar Zones
Divide the roof into zones with different conditions.
• Zone A: A large open area with little shade
• Zone B: A narrow area between vents
• Zone C: A visible area near apartments or a terrace
• Zone D: An area near kitchen exhaust
• Zone E: Space reserved for future HVAC work
Use one module type by default. This keeps the electrical design, clamps, spare parts, and future replacement simpler.
A second module type may be useful if it adds a meaningful amount of capacity or solves a clear layout problem. Before mixing modules, check:
• Voc, Vmp, Isc, and Imp
• Whether separate MPPT inputs are needed
• Whether the modules can be placed on the same string
• Whether different rails or clamps are required
• Whether two kinds of spare modules must be stored
• Whether future replacements will look different
Modules should not be connected together simply because they fit in the same physical space.
Check the Fit
A module's wattage does not show how well it uses the roof. Compare its rated power with its physical area.
Power density = module power ÷ module area
Item | Module A | Module B |
Rated power | 450 W | 550 W |
Length | 1.76 m | 2.28 m |
Width | 1.13 m | 1.13 m |
Area | 1.99 m² | 2.58 m² |
Power density | 226 W/m² | 213 W/m² |
Module B has a higher wattage, but Module A produces more rated power per square metre.
The larger module may also leave unusable spaces around roof equipment. On a narrow section, five smaller modules may fit where only three larger modules fit.
Module power density still does not show the result for the whole roof. The completed system also needs gaps, fire routes, row spacing, and access around equipment.
For the full layout, calculate:
Installed power density = total installed DC capacity ÷ usable solar roof area
Use the same definition of usable area for every option.
Assume one roof zone has 500 m² of usable solar area.
One layout fits 180 units of Module A:
180 × 450 W = 81 kW
81,000 W ÷ 500 m² = 162 W/m²
Another layout fits 140 units of Module B:
140 × 550 W = 77 kW
77,000 W ÷ 500 m² = 154 W/m²
The 550 W module is more powerful by itself, but the 450 W module creates the larger system on this roof.
The result may be different on a wide and open roof, where larger modules can reduce the number of rails, clamps, cables, and connectors.
Test Complete Rows
Do not compare modules one at a time. Produce a complete layout for every shortlisted size.
Each layout should show:
• Number of modules
• Total DC capacity
• Module direction
• Complete rows
• Row spacing
• Fire and maintenance routes
• Shade
• Mounting points
• Cable routes
• Roof drains
• Wind edge and corner zones
• Space reserved for future equipment
For each option, compare installed capacity, annual generation, number of modules, number of connectors, string design, required ballast or attachments, lifting needs, and replacement access.
Leave Working Space
A layout that fills every gap may look efficient on paper but become difficult to repair.
Check whether:
• A damaged module in the middle of the array can be reached
• A roof drain can be cleaned without removing modules
• HVAC doors can open fully
• A fan, compressor, or heat pump can be removed
• A roofing contractor can reach a leak
• Workers can carry tools without stepping over cables
• Emergency routes remain clear
A walkway shown on a plan may still be blocked by rails, cable trays, roof anchors, or open equipment doors. Check access in three dimensions.
Check the Roof
The structural engineer must assess the complete system, not only the module weight.
The roof may need to carry:
• Modules
• Rails and clamps
• Ballast blocks or roof anchors
• Cable trays and inverters
• Maintenance workers
• Snow and ice
• Water accumulation
• Wind uplift forces
The review should also check how these loads move through the roof deck, beams, columns, and foundations.
DOE procurement guidance states that roof studies should consider the complete PV system weight, wind, snow, seismic loads, waterproofing, and temporary concentrated loads created while equipment is stored or moved.[1]
Structural checking is usually a repeated process:
1. Review the existing roof and structure.
2. Mark the likely solar areas.
3. Choose a preliminary mounting method and tilt.
4. Calculate wind attachments or ballast.
5. Check average and local loads.
6. Adjust the layout if needed.
7. Complete the final structural design.
A general statement that “the roof can support solar” is not enough. The answer may change after the actual ballast, module tilt, and inverter positions are known.
Module Weight Is Not System Weight
Suppose a module weighs 25 kg and covers 2 m².
25 kg ÷ 2 m² = 12.5 kg/m²
This figure does not include rails, clamps, cables, ballast, workers, snow, or water.
A ballasted system can place a large load in a small area. The engineer must therefore check both:
• Average load across the roof
• Concentrated load at individual points
The lightest module does not always create the lightest system. A large, tilted module may need more ballast, while a heavier module on a lower and mechanically attached system may create less total roof load.
Check Wind Uplift
Wind pressure is often stronger near roof edges and corners. Parapets, plant rooms, nearby buildings, open parking levels, and changes in roof height can create turbulence.
The mounting design must match:
• Building height
• Local design wind speed
• Roof shape
• Roof zone
• Module tilt
• Parapet height
• Attachment or ballast method
• Approved clamp positions
DOE resilience guidance recommends designing the modules, racking, attachments, layout, and foundations for the conditions expected during the system's working life.[2]
Do not add more ballast after the structural review without sending the new loads back to the engineer.
Check Roof Life
DOE reports that the average operating life of solar modules had increased to about 25 to 35 years by 2025.[3]
Installing solar on a roof with only a few years of useful life can create a large future cost. The modules may need to be disconnected, removed, stored, and reinstalled when the roof is replaced.
Record:
• Roof type and age
• Remaining warranty
• Current leaks
• Membrane condition
• Previous repairs
• Drainage problems
• Expected replacement date
If the roof has a short remaining life, it is usually better to repair or replace it before installing solar. Where the remaining life is uncertain, include future removal and reinstallation in the financial model.
Read the Data Sheet
Rated Power and Efficiency
Rated power is measured under standard test conditions. It is useful for comparing modules, but it is not the output the module will produce during every sunny hour.
Real output changes with sunlight, cell temperature, shade, dirt, wiring, inverter losses, and module age.
Check the stated power tolerance. Some products have a positive-only tolerance, while others may allow measured power slightly below the nameplate value.
Efficiency shows how much of the sunlight falling on the module is converted into electricity.
Higher efficiency is most useful when roof area is limited and every additional kilowatt-hour from that area has a high value. A high-efficiency module may still produce a poor roof layout if its length and width do not fit well.
Size and Weight
Record the exact length, width, frame thickness, module weight, and weight per square metre.
A difference of 10 cm can affect:
• Number of complete rows
• Fire clearances
• Rail spacing
• Worker access
• Wind loading
• Crane requirements
• Future replacement
Check the full delivery route. A module may fit the roof but not the service lift, roof hatch, stairway, or route between roof equipment.
Temperature Coefficient
Solar cells lose power as they become hotter. The data sheet normally shows a maximum-power temperature coefficient as a negative percentage per degree Celsius.
Example:
• Module A: −0.29%/°C
• Module B: −0.35%/°C
If the cell temperature rises 40°C above the standard test temperature:
• Module A: 40 × 0.29% = 11.6% approximate reduction
• Module B: 40 × 0.35% = 14.0% approximate reduction
The 40°C rise refers to the cell temperature above the standard 25°C test temperature. It does not refer to a 40°C rise in outdoor air temperature.
This calculation shows only the temperature effect. It does not include changes in sunlight or other losses.
Voltage and Current
The electrical designer must check:
• Open-circuit voltage, or Voc
• Short-circuit current, or Isc
• Maximum-power voltage, or Vmp
• Maximum-power current, or Imp
• Maximum system voltage
• Maximum series-fuse rating
Cold weather can raise module voltage. A string that is acceptable at normal temperature may exceed the inverter's maximum input voltage on a very cold morning.
High temperature lowers voltage. The string must also remain within the inverter's operating range during hot weather.
Modern large modules may have high current. An inverter may have enough total power capacity but still be unsuitable because one MPPT input cannot accept the module current.
Mechanical Load Rating
A listed front or rear load rating does not mean the module can be mounted in any position.
The rating may depend on:
• Clamp location
• Number of clamps
• Rail direction
• Use of mounting holes
• Frame construction
• Whether the figure is a test load or design load
Ask for the installation manual as well as the data sheet.
Degradation and Operating Temperature
Check the first-year power-loss allowance, later annual degradation allowance, final guaranteed output, and whether the power warranty is linear or stepped.
A higher allowed degradation rate means a lower guaranteed long-term output. It does not prove that the module will actually degrade at that rate.
Some data sheets show NMOT or NOCT. This can help compare products under more realistic outdoor conditions, but it is not an exact prediction of roof temperature.
Bifaciality, Connectors, and Cables
For a bifacial module, check the bifaciality factor as well as the front-side rated power.
• Bifaciality compares the electrical response of the rear side with the front side.
• Bifacial gain is the extra energy produced by the installed system.
A module may have high bifaciality but little extra energy if the rear receives little light.
Also record the connector manufacturer and model, cable size, lead length, cable temperature rating, and junction-box position.
Choose the Module Construction
Most rooftop projects use crystalline-silicon modules. Terms such as PERC, TOPCon, heterojunction, N-type, and back-contact describe different parts of the cell design and are not all separate, equal categories.
Use these labels to understand the product, but make the final choice from measurable information such as efficiency, temperature coefficient, size, weight, electrical values, load rating, certification, warranty, and roof-specific annual energy.
Glass-Backsheet
A glass-backsheet module has front glass and a polymer sheet on the rear.
Possible advantages include:
• Lower weight in some product ranges
• Wide market availability
• Easier handling
• Lower purchase price in some markets
Check the backsheet's resistance to ultraviolet light, heat, moisture, salt, ammonia, and any chemicals expected at the site.
Double-Glass
A double-glass module places the cells between front and rear glass.
Possible advantages include:
• Good moisture protection
• Good resistance to some chemicals
• Support for bifacial cell designs
• No polymer backsheet to crack or chalk
Possible disadvantages include:
• Higher weight in some products
• More difficult handling
• Different clamping requirements
• Greater need for careful edge handling
Double-glass is not automatically better. Compare the exact products, including glass thickness, edge sealing, weight per square metre, clamp requirements, and supplier quality.
Framed and Frameless
Framed modules are common on roofs because the frame protects the edges and provides clear clamping areas. Check the frame thickness, drainage holes, corner joints, corrosion resistance, and approved clamps.
Frameless modules can provide a cleaner appearance, but they need approved clamps, correct rubber inserts, careful glass-edge handling, and suitable transport racks.
The visual benefit should be compared with installation and replacement difficulty.
Choose Monofacial or Bifacial
Monofacial
A monofacial module mainly uses light entering through its front surface.
It is often the simpler and more predictable option for:
• Pitched roofs
• Low-mounted flat-roof systems
• Dark roof membranes
• Closely spaced rows
• Areas with heavy rear-side shade
Bifacial
A bifacial module can also use light reaching its rear surface.
Rear-side output depends on:
• Roof colour and reflectivity
• Height above the roof
• Row spacing and tilt
• Rails and cable trays
• Nearby walls and parapets
• Dirt, snow, and standing water
DOE's Solar Futures Study assumes no bifacial gain for ordinary sloped residential roof systems because the rear side is not sufficiently exposed.[4]
This does not automatically apply to open carports, canopies, elevated arrays, or other systems with useful rear exposure.
Ask for a model that separately shows front-side energy, rear-side energy, assumed roof reflectivity, rear shading, and annual bifacial gain.
Do not accept a claim such as “up to 20% more energy” without a calculation for the actual roof.
Compare the value of the extra energy with the cost of higher mounting, wider spacing, structural work, reflective coatings, and additional cleaning.
Match the Climate
The same module can perform differently in two locations. Consider both certification and the likely causes of failure.
Hot Roofs
For hot sites, compare:
• Temperature coefficient
• Air space below the module
• Roof colour
• Inverter temperature limits
• Cable and junction-box temperature ratings
An inverter in a poorly ventilated roof area may reduce its output because of heat even when the modules are performing normally.
Snow and Hail
For snowy areas, check module load rating, approved clamp zones, frame strength, snow drift near parapets, sliding snow, drainage during melting, and access for inspection.
Snow may build up unevenly behind rows and around taller roof sections. The structural engineer should calculate the local roof load rather than relying only on a module laboratory rating.
For hail-prone sites, compare the local hazard with the exact test certificate. IEC has published additional guidance for regions where hail risk is greater than the normal scope of the IEC 61215 qualification tests.[5]
After a severe storm, hidden damage may require monitoring review, electrical testing, infrared imaging, or electroluminescence testing.
Salt and Chemicals
Coastal buildings need a corrosion review for the complete system, including module frames, rails, fasteners, clamps, cable trays, earthing parts, connectors, inverter housings, and roof anchors.
Different metals can cause galvanic corrosion when used together. Cut edges and damaged coatings also need protection.
Commercial kitchens, farms, laboratories, wastewater facilities, and swimming pools may expose the system to grease, ammonia, chlorine, fumes, or fine particles.
Place modules away from exhaust outlets where possible. Modules near restaurant exhaust may need more frequent inspection and cleaning.
Control Shade
Shade from a pipe or parapet can reduce more output than its physical size suggests.
A module contains groups of cells connected in series. When one group is shaded, its current can be limited. Bypass diodes reduce the loss but do not remove it.
Model shade for the full year, including low winter sun.
Check shade from:
• Parapets
• HVAC equipment
• Exhaust pipes
• Lift rooms
• Antennas
• Nearby buildings and trees
• Other solar rows
• Future equipment
• Snow piles
The result also depends on the internal cell layout, bypass-diode positions, module direction, and shape of the shadow. A long horizontal shadow can behave differently from a narrow vertical shadow.
Check the String Layout
Modules with similar sunlight should normally be grouped together.
Avoid placing:
• Heavily shaded and clear modules on the same string
• Different roof directions on the same MPPT input
• Very different tilts on the same input
Optimisers or microinverters can help on irregular roofs, but they add more electronic equipment to the roof. Use them when the expected energy benefit is greater than the added cost, failure points, and replacement work.
An optimiser cannot create sunlight. It can only reduce some electrical mismatch losses.
Protect Fire Access and Wiring
A certified module does not make the complete roof system fire-safe.
Fire risk also depends on:
• Cable routing
• Connectors
• Inverters and isolators
• Junction boxes
• Roof materials
• Array spacing
• Installation quality
• Emergency shutdown
• Maintenance
DOE states that design faults, component defects, and poor installation can cause arcs or hot spots, although fires linked to rooftop PV systems are uncommon.[6]
Follow local rules for roof-edge setbacks, firefighter routes, smoke vents, roof hatches, emergency isolation, rapid shutdown, labels, and equipment spacing.
Parts of the DC system may remain live in sunlight after the inverter disconnects from the grid. Emergency procedures must account for this.
Use Matching Connectors
Two connectors may physically fit while using different contact materials, seals, or tolerances.
Unapproved mixing can lead to poor contact, higher resistance, heating, arcing, water entry, and loss of warranty.
Record the connector manufacturer, model, approved mating pair, cable size, crimping tool, and inspection method.
Support the Cables
Cables should not rest loose on the roof.
They should be:
• Protected from sharp edges
• Supported at suitable intervals
• Kept away from drains and standing water
• Protected from sunlight where required
• Kept clear of hot exhausts and moving equipment
• Fixed without crushing the insulation
DOE cable-management guidance warns that failed wire supports can contribute to electrical faults, performance loss, and fire or life-safety problems.[7]
Do not use ordinary plastic ties as permanent supports unless they are rated for the expected heat, ultraviolet light, moisture, chemicals, and service life.
Design the Appearance
A mixed-use roof may be hidden from the street but visible from apartments, terraces, hotels, offices, or nearby buildings.
Review the appearance from:
• Street level
• Main entrances
• Public spaces
• Upper floors
• Roof terraces
• Neighbouring buildings
Check the Details
Visible differences include:
• Black or silver frames
• White or black rear surfaces
• Cell colour
• Busbar pattern
• Module size
• Clamp and rail colour
• Visible cables
• Row alignment
• Tilt and height above the parapet
An all-black module may provide a cleaner look, but colour alone does not show its annual performance. Compare the full product design and energy model.
Also consider future replacement. A new module installed several years later may have a different colour, frame, pattern, or reflection. Highly visible projects may benefit from keeping a small number of matching spare modules.
Architectural screens may improve appearance but can add shade, wind turbulence, snow drift, and maintenance problems. Include them in the structural and energy models.
Use a Mock-Up
Ask for a full-size sample or small installed mock-up where appearance matters.
Check it in daylight for glare, colour variation, visible wiring, rail exposure, uneven rows, and reflection into windows.
Use BIPV Carefully
Building-integrated photovoltaics, or BIPV, replace part of the building surface. They may be used in roofs, façades, skylights, canopies, balustrades, or carports.
DOE defines BIPV as solar-generating material that replaces conventional building materials in parts of the building.[8]
BIPV must generate electricity and work as part of the building envelope.
The design must cover:
• Water sealing and drainage
• Wind pressure
• Fire resistance
• Impact and glass safety
• Electrical insulation
• Thermal movement and condensation
• Access and replacement
A normal module mounted above a roof is usually easier to replace. A failed BIPV unit may also be part of the weather barrier, façade, or glazing system.
The contract should clearly state who is responsible for structural support, water tightness, electrical safety, fire compliance, seals, replacement, and roof or façade warranties.
Check the Standards
Ask for certificates for the exact module model and factory.
IEC 61215-1 covers design qualification for terrestrial modules intended for long-term outdoor use. IEC states that the test results are not a direct prediction of module lifetime.[9]
IEC 61730-1 covers module construction requirements related to safe electrical and mechanical operation, while IEC 61730-2 covers safety testing for risks including fire, electric shock, and personal injury.[10][11]
Check:
• Full model number
• Certificate holder
• Manufacturing site
• Certificate validity
• Standard edition
• Maximum system voltage
• Fire classification
• Load rating
• Approved installation method
A brochure logo or certificate for a similar product series is not enough.
Module certification is only one part of project approval. The mounting system, structural design, inverter, cables, roof fire performance, grid connection, permits, and contractor qualifications must also meet local requirements.
Model Real Output
Do not choose a module from first-year rated power alone.
The energy model should include:
• Local weather
• Roof direction and slope
• Module tilt
• Shade
• Cell temperature
• Dirt and snow
• Wiring and inverter losses
• System downtime
• Module mismatch
• Long-term degradation
• Bifacial gain where relevant
Give every bidder the same assumptions. Otherwise, one proposal may appear better only because it assumes less dirt, less downtime, or higher roof reflectivity.
Require:
• A base case using agreed assumptions
• A downside case with higher losses or lower availability
• An upside case that is credible, not a marketing maximum
For larger projects, P50 and P90 values may also be useful.
• P50 is the median estimate, with a 50% probability that actual production will meet or exceed it.
• P90 is a more conservative value, with a 90% probability that production will meet or exceed it.
NREL explains that P50 is the median and equals the mean only when the distribution is symmetric.[12]
Compare kWh, Not Only kW
Kilowatts show system capacity. Kilowatt-hours show energy produced.
A 300 kW system producing 310,000 kWh per year may be less valuable than a 280 kW system producing 305,000 kWh if the smaller system costs much less and is easier to maintain.
Compare:
• Annual kWh
• kWh per installed kW
• kWh per square metre of usable roof
• Self-consumed kWh
• Exported kWh
• Long-term energy under the downside case
A five-year study by Sandia National Laboratories, NREL, and the University of Central Florida followed 834 modules and reported mean and median degradation rates of about 0.62% and 0.58% per year under the study's measurement method.[13]
These figures are useful reference points, not guarantees for every module or climate.
Match the Demand
A mixed-use building may have several electricity meters and several different load patterns.
Solar may serve:
• Common lighting
• Lifts and ventilation
• Cooling
• Shops and offices
• Apartments
• Restaurants
• Parking and EV chargers
• Heat pumps
Use 15-, 30-, or 60-minute electricity data where available. Monthly bills do not show whether the building uses power at the same time that the solar system produces it.
Separate demand by weekdays, weekends, seasons, opening hours, tenant vacancies, cooling periods, heating periods, and planned new electrical loads.
Self-consumption ratio = solar electricity used on site ÷ total solar generation
Solar coverage ratio = solar electricity used on site ÷ total building electricity demand
These figures answer different questions. A small system may use nearly all of its output on site but cover only a small part of total demand. A larger system may cover more demand but export much more electricity.
Confirm:
• Which meter receives the solar connection
• Whether it serves only common areas
• Whether electricity can be allocated to tenant meters
• Who receives export income
• What happens if a major daytime tenant leaves
• Whether grid export is limited
Use the load behind the actual connection point, not only the total consumption of the whole building.
A battery should not be added automatically. Its value depends on evening demand, import and export prices, demand charges, backup requirements, efficiency, replacement cost, fire rules, and control strategy.
Standard grid-connected solar normally does not power building loads during a grid outage. Systems expected to run during an outage need suitable inverters, controls, protection, and an operating design that supports islanded use. Storage is commonly used to provide stable and continuous supply.[14]
Clinics and other buildings with critical loads need a separate backup-power study.
Check the Warranties
Product Warranty
The product warranty covers defects in materials or manufacturing.
Check whether it covers:
• Glass
• Frame
• Junction box
• Rear material
• Connectors
• Delamination
• Insulation failure
Also check whether the warranty applies in the project country, can be transferred to a new owner, requires registration, or excludes coastal and chemical sites.
Power Warranty
The power warranty promises that output will remain above a stated level.
Read:
• First-year loss allowance
• Later annual degradation allowance
• Final guaranteed output
• Measurement method
• Test uncertainty
• Claim procedure
A long warranty has limited value if the owner must pay for testing, scaffolding, removal, shipping, and reinstallation.
The project may also have separate warranties for the roof, mounting system, inverter, monitoring equipment, and installation work. Use a written responsibility table so that the roofer and solar installer cannot pass the same problem to each other.
Check the Supplier
A module may remain on the roof longer than the company that sold it.
Review:
• Years in module manufacturing
• Factory locations
• Local service staff
• Financial position
• Claim and recall history
• Serial-number traceability
• Spare-module policy
• Warranty support in the project country
When checking a manufacturer's website, use clear model-specific product pages to locate the exact data sheet, installation manual, certificates, and warranty. Online information is only a starting point; the documents should still be confirmed with the supplier or certificate holder.
For larger projects, quality checks may include visual inspection, power measurement, electroluminescence imaging, insulation testing, packaging inspection, and verification of key materials.
The amount of testing should match the project size and risk.
Compare Full Costs and Bids
Do not compare module price alone.
Include:
• Modules
• Racking, ballast, or anchors
• Inverters and electrical equipment
• Crane and lifting work
• Roof repairs
• Fire-safety work
• Design and grid-connection fees
• Monitoring and cleaning
• Inspection and maintenance
• Inverter and module replacement
• Insurance
• End-of-life removal
Mixed-use buildings may also have restricted working hours, tenant notices, public-area protection, temporary shop closures, and extra roof security.
Compare lifecycle cost per kilowatt-hour, net present value, payback period, self-consumed electricity value, export value, and downside-case performance.
Give every bidder the same roof information, electricity data, safety rules, and modelling assumptions.
Item | Weight |
Code and certification | Pass/fail |
Structural fit | Pass/fail |
Fire-safety fit | Pass/fail |
Annual energy | 20% |
Roof use | 15% |
Climate resistance | 15% |
Full installed cost | 15% |
Warranty | 10% |
Supplier support | 10% |
Maintenance access | 10% |
Appearance | 5% |
The percentages are examples. A visible hotel roof may place more weight on appearance. An older roof may place more weight on system load. A coastal building may place more weight on corrosion resistance.
Set the scoring method before opening the bids and require evidence for every score.
Test Three Layouts
Compare at least three realistic options against the same reference case.
Compact Layout
Use modules whose dimensions create the best complete-row fit.
This is useful for crowded or irregular roofs. Check whether better packing also increases the number of modules, connectors, strings, and labour hours.
Large-Module Layout
Use larger commercial modules on wide and open roof areas.
Check lifting, manual handling, wind loads, clamp limits, connector count, access through the building, and future replacement.
Design Layout
Use all-black modules, hidden mounting, BIPV, or modules kept below the parapet where appearance is important.
Calculate the extra cost and any reduction in energy separately so that the owner can judge the value of the visual requirement.
One of the three options may be a hybrid layout, with large modules in open areas and smaller modules in narrow areas. Separate MPPT inputs may be needed.
For every option, compare:
• Installed capacity
• Annual generation
• Self-consumed and exported energy
• Installed power density
• Structural load
• Installed and lifecycle cost
• Maintenance access
• Appearance
• Warranty and downside risk
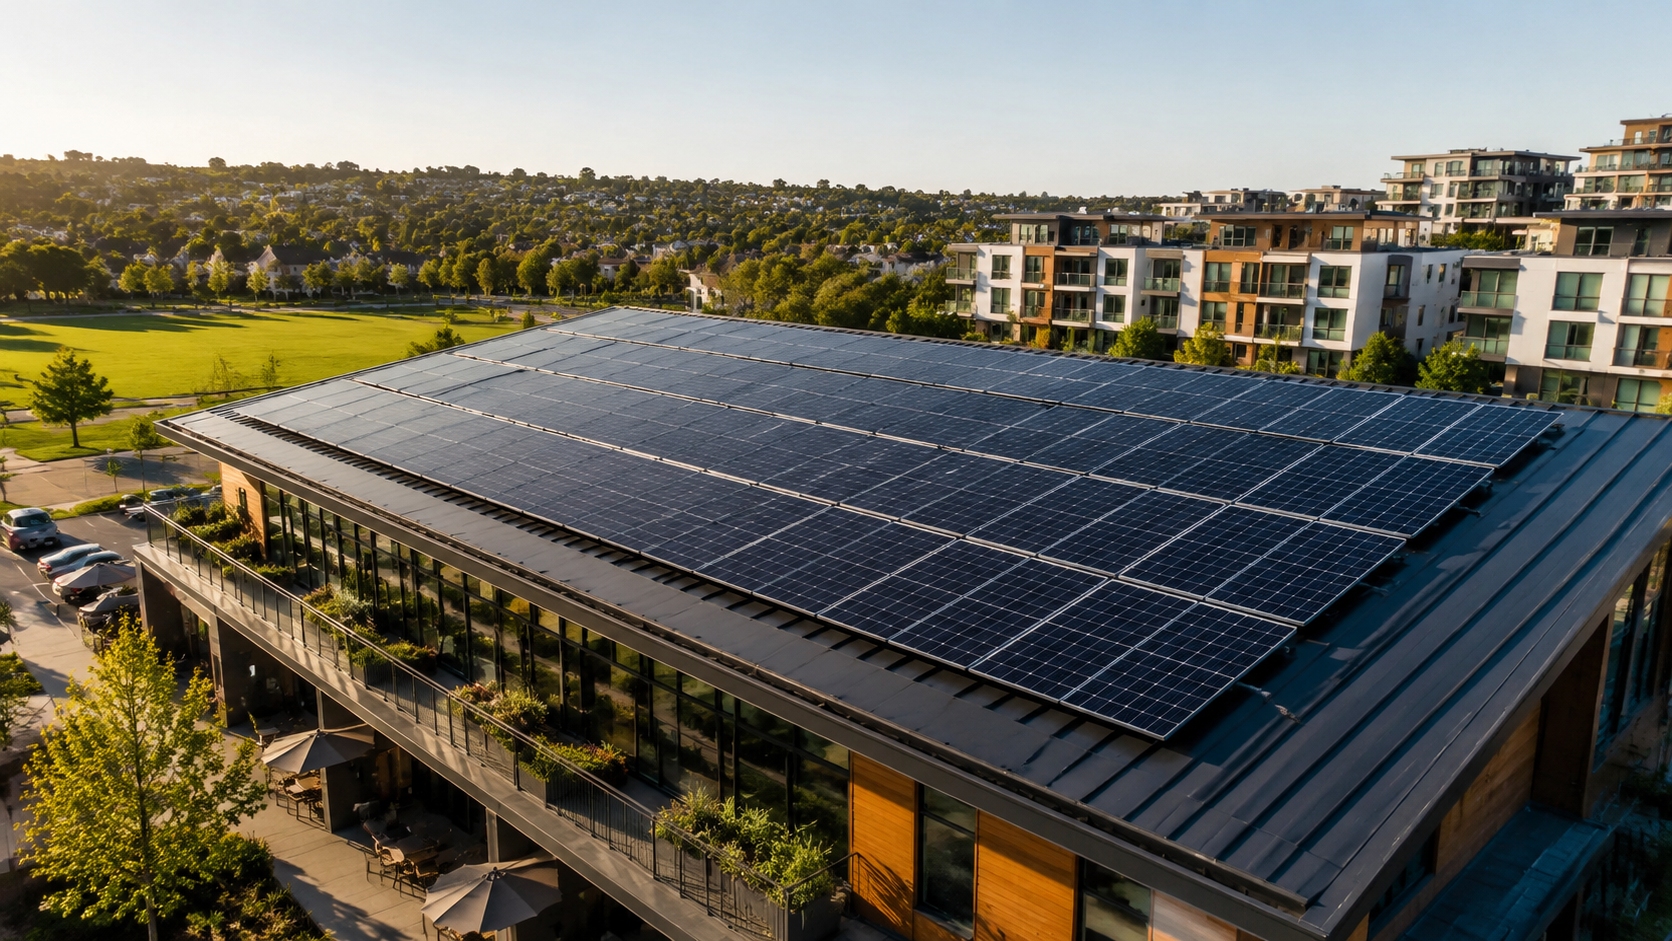
Final Check
Roof and Layout
• The roof has enough remaining life.
• The structure can carry the complete system.
• Fire routes, drains, and equipment remain accessible.
• The module dimensions fit the surveyed roof.
• Shade and local weather risks have been checked.
Products and Electrical Design
• Certificates cover the exact model and factory.
• Clamp positions match the installation manual.
• The inverter accepts the module voltage and current.
• Strings and MPPT inputs match roof conditions.
• Connectors and cables are approved and correctly supported.
Energy and Cost
• All options use the same modelling assumptions.
• Base and downside cases have been compared.
• The actual connection-point load has been used.
• Grid export limits are known.
• Self-used and exported electricity have been valued separately.
Warranty and Handover
• Roof and solar warranty responsibilities are written down.
• Warranty labour and transport costs are clear.
• The supplier can support claims locally.
• Monitoring and maintenance responsibilities are assigned.
• Any product substitution requires a new technical review.
Before handover, check the completed installation rather than relying only on the design drawings.
The handover package should include final equipment schedules, serial-number and string maps, as-built roof and cable layouts, inverter settings, electrical test results, waterproofing approval, monitoring tests, emergency labels, warranties, maintenance instructions, and contact details.
DOE commissioning guidance also recommends proper cable management, weather protection, grounding, bonding, fault protection, and final inspection of the installed system.[15]
The best solar module for a mixed-use building is not always the most powerful, efficient, expensive, or attractive module.
It is the module that provides the highest safe and usable lifetime output after roof limits, structural capacity, climate, maintenance, electricity demand, appearance, and total system cost have been included.
The final decision should be based on a complete layout for the actual building, not a comparison of product brochures.